

Microsoft has launched a tool which also allows schools to quickly setup new PC’s using a USB stick with a configured setup file. The tool is designed for simplicity and could be used in smaller networks such as primary networks where enterprise tools are not an option.
This must be used at the first-run setup screen (shown below) when you boot a fresh pc for the first time (when using a clean installed PC without preconfigured setup via SCCM etc)
Updated with new video
https://www.youtube.com/watch?v=Ic988IUTn4I&feature=youtu.be
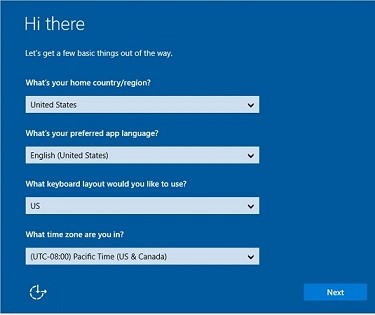
It allows you to:
- Set up a computer that is tailored to provide students with the tools they need for learning while removing apps and features that they don't need.Places tiles for OneNote, Office 365 web apps, Sway, and Microsoft Classroom on the Start menu
Installs OneDrive for cloud-based documents and places it on the Start menu and taskbar
Sets Microsoft Edge as the default browser
Uninstalls apps not specific to education, such as Solitaire and Sports
Turns off Offers and tips
Prevents students from adding personal Microsoft accounts to the computer
- Significantly improves how fast students sign-in.
- The app connects the PCs to your school’s cloud so IT can manage them (optional).
- Windows 10 automatically manages accounts no matter how many students use the PC.
- Keeps computers up-to-date without interfering with class time using Windows Update and maintenance hours (by default, 12 AM).
- Customizes the sign-in screen to support students with IDs and temporary users.
- Locks down the computer to prevent mischievous activity:Prevents students from installing apps
Prevents students from removing the computer from the school's device management system
Prevents students from removing the Set up School PCs settings
To create a USB stick (must be 1GB or larger) you must have build 1607 installed on your PC then you can install the setup app from the Microsoft Store at: https://www.microsoft.com/store/apps/9nblggh4ls40
Once installed you can run the app to start the wizard.
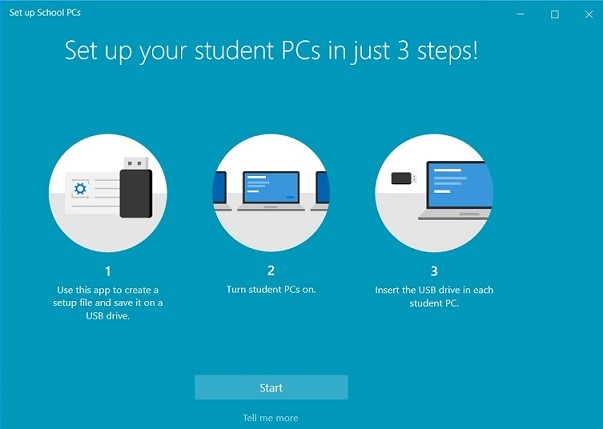
Hit Start and you can begin to configure your quick setup file for fresh PC’s
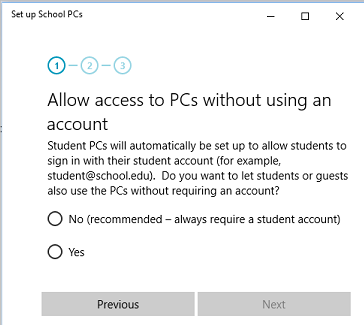
The first choice is allowing guest accounts access to this PC which is normally not used for a lot of school environments
After that you will be asked to enter your wireless network information:
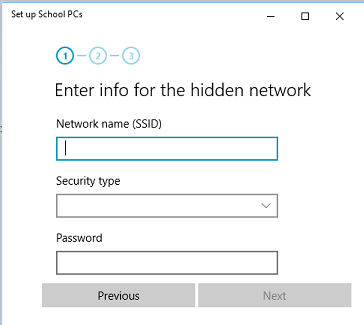
NOTE: If you do not use wireless, then you can enter some random names into the SSID name and set the security type to open (ensure this is sufficiently random to prevent someone creating a hotspot and your pc’s signing in automatically)
If the pc being setup does not have wifi this should not be used.
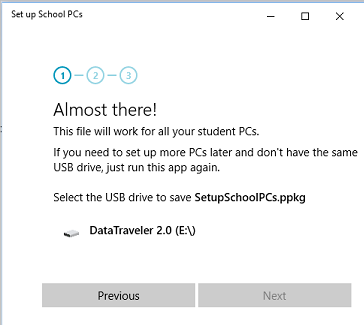
Next insert your USB stick and the tool will save the setup file ready for your PC’s. The setup file will be named SetupSchoolPCs.ppkg which is ran by the pc when inserted at the fresh install stage.
What if the PC has already been used or is not at the first run stage
You can revert the pc back to a fresh state by going to Settings > Update & security > Recovery > Reset this PC
NOTE: This will remove all data and reset windows back to a clean state.
Setting up a PC using the usb stick
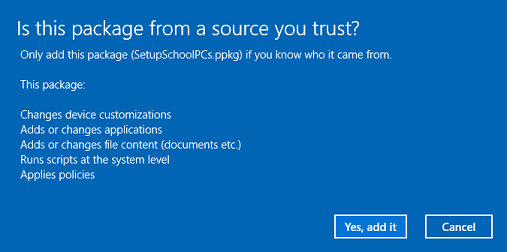
Insert your USB stick into the pc at the setup screen, Windows will detect the setup package and show the following screen:
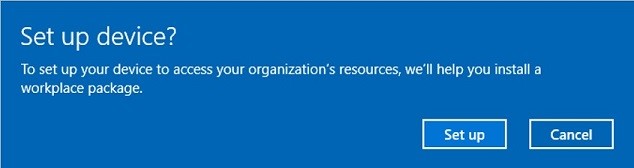
It will then ask you to provision the device and select the setup package you want to use followed by some details of the changes as well as the obligatory legal stuff.
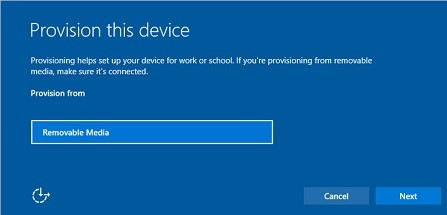
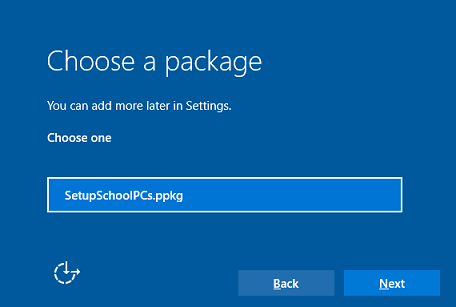
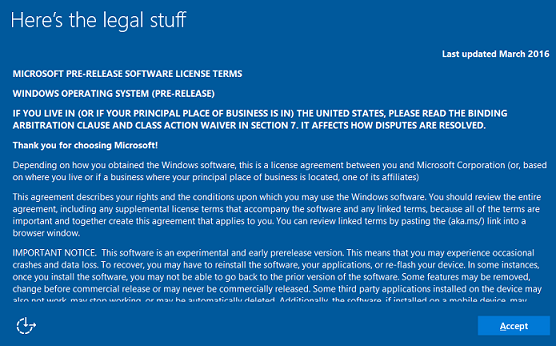
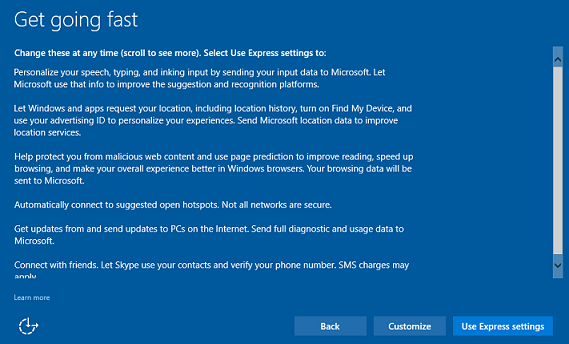
After those steps are done you will be asked who owns the pc and if you want to join the pc to a domain.
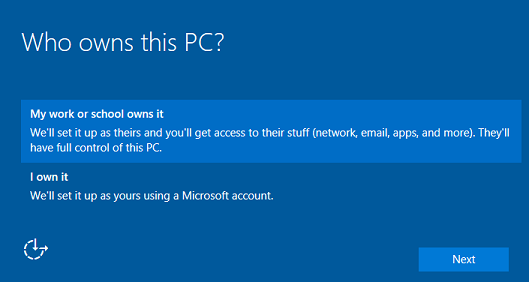
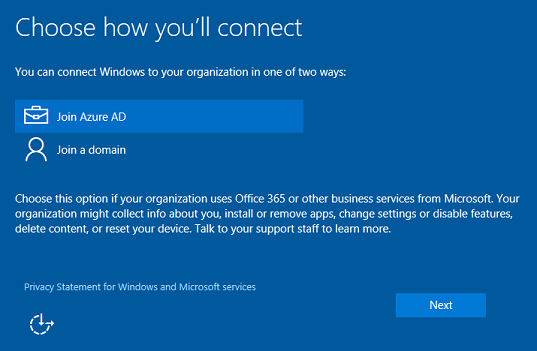
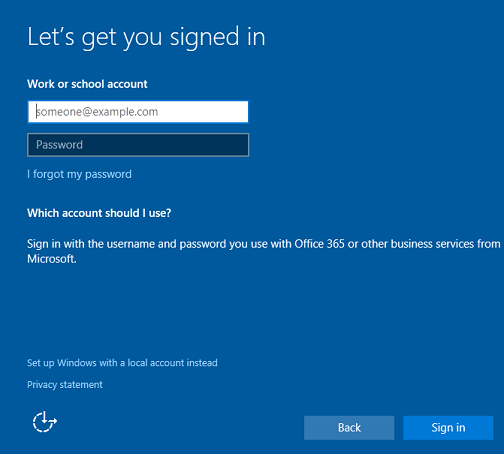
Enter your domain login credentials and the pc will join the domain. When you see a progress ring you can remove the usb device and the PC should be ready to use.
Useful Links:


Recommended Comments
There are no comments to display.